
Product Photography for eCommerce: A Practical Guide for High-Converting Online Stores
Your product images do the job a shop assistant, a window display and the packaging all do in a physical store, at the same time, with no chance to explain yourself if the photo gets it wrong. This Insight covers eCommerce product photography from equipment and lighting through to editing, platform requirements and budget, so you can build a photography approach that actually supports sales rather than just looking nice.
What is eCommerce product photography?
eCommerce product photography is the practice of photographing products specifically for online stores, marketplaces and social media, rather than for print, advertising campaigns or portfolio work. The purpose is functional. Every image needs to communicate shape, scale, texture, material and function clearly enough that a shopper can make a confident buying decision without ever holding the item.
This is different from traditional photography, where the goal is often artistic expression or brand storytelling first and accurate product detail second. Good eCommerce photography borrows techniques from traditional photography, lighting, composition, colour theory, but applies them in service of a specific commercial outcome: helping customers imagine owning the product, and reducing the chance they return it once it arrives.
Why product photography matters more than most founders budget for
Baymard Institute’s ongoing UX research shows that 42% of online shoppers try to judge a product’s physical size directly from its images, yet 28% of eCommerce sites still don’t offer a single image that shows scale (source: baymard.com/blog/in-scale-product-images). That is a straightforward, fixable gap, and it is one of the easiest wins available to an independent brand that cannot compete with a large retailer’s marketing budget.
The same research found that 52% of sites do not add any descriptive text or graphics to their product images, even on their best selling lines (source: baymard.com/blog/product-images-descriptive-text), and that the share of sites properly linking inspirational lifestyle images back to the actual product for sale grew from 47% in 2013 to 91% in 2019, as shoppers came to expect it as standard (source: baymard.com/blog/inspirational-product-images-links).
None of this requires a large studio or a five figure budget. It requires knowing which image types you actually need, and being consistent about producing them across your whole catalogue.
What eCommerce photography needs to achieve on a product page
Product photography for an online store exists to sell the product on the page, not to win a photography award. The job is to communicate shape, scale, texture, material and function with total accuracy, which directly affects eCommerce conversion rate benchmarks and optimisation. A well built WooCommerce or Shopify product page typically needs:
- A clear hero shot, usually on a plain white background
- Multiple angles, including at least a back, side, or 45 degree view
- A detail shot showing texture, stitching or material
- One image showing the product in context, sometimes called a lifestyle shot
- A scale reference, so the shopper can judge size accurately
How to take product photos for eCommerce, step by step
If you are starting from nothing, the process generally runs in this order:
- Decide your shot list first. Work out which image types each product category needs before you pick up a camera. A ring needs different shots to a jumper.
- Set up a consistent space. A plain background, a tripod position marked on the floor, and repeatable lighting saves enormous time across a full catalogue.
- Shoot the hero image first. Get the main, front facing shot right before moving on to angles and detail shots, since this is the image most shoppers see first in search results and category grids.
- Capture multiple angles and detail shots. Work through your shot list product by product rather than angle by angle, so you are not repeatedly repositioning the same product.
- Add at least one lifestyle or scale image. This can be shot separately from the main packshot session if styling or a model is involved.
- Edit in batches. Apply the same correction settings across similar products so your catalogue looks consistent rather than shot by shot.
- Export at the right size and compress properly. Balance image quality against page loading speed before uploading anything live.
The core image types worth planning for
White background packshots
White background product photography is the standard baseline for eCommerce product images. The product is isolated on a plain white or light grey background and used across your site, marketplaces and Google Shopping. Amazon, for example, requires a pure white main image with the product filling most of the frame and no added text or props. Consistency here matters more than creativity, since this is the image type shoppers compare across competing listings side by side.
Lifestyle and contextual shots
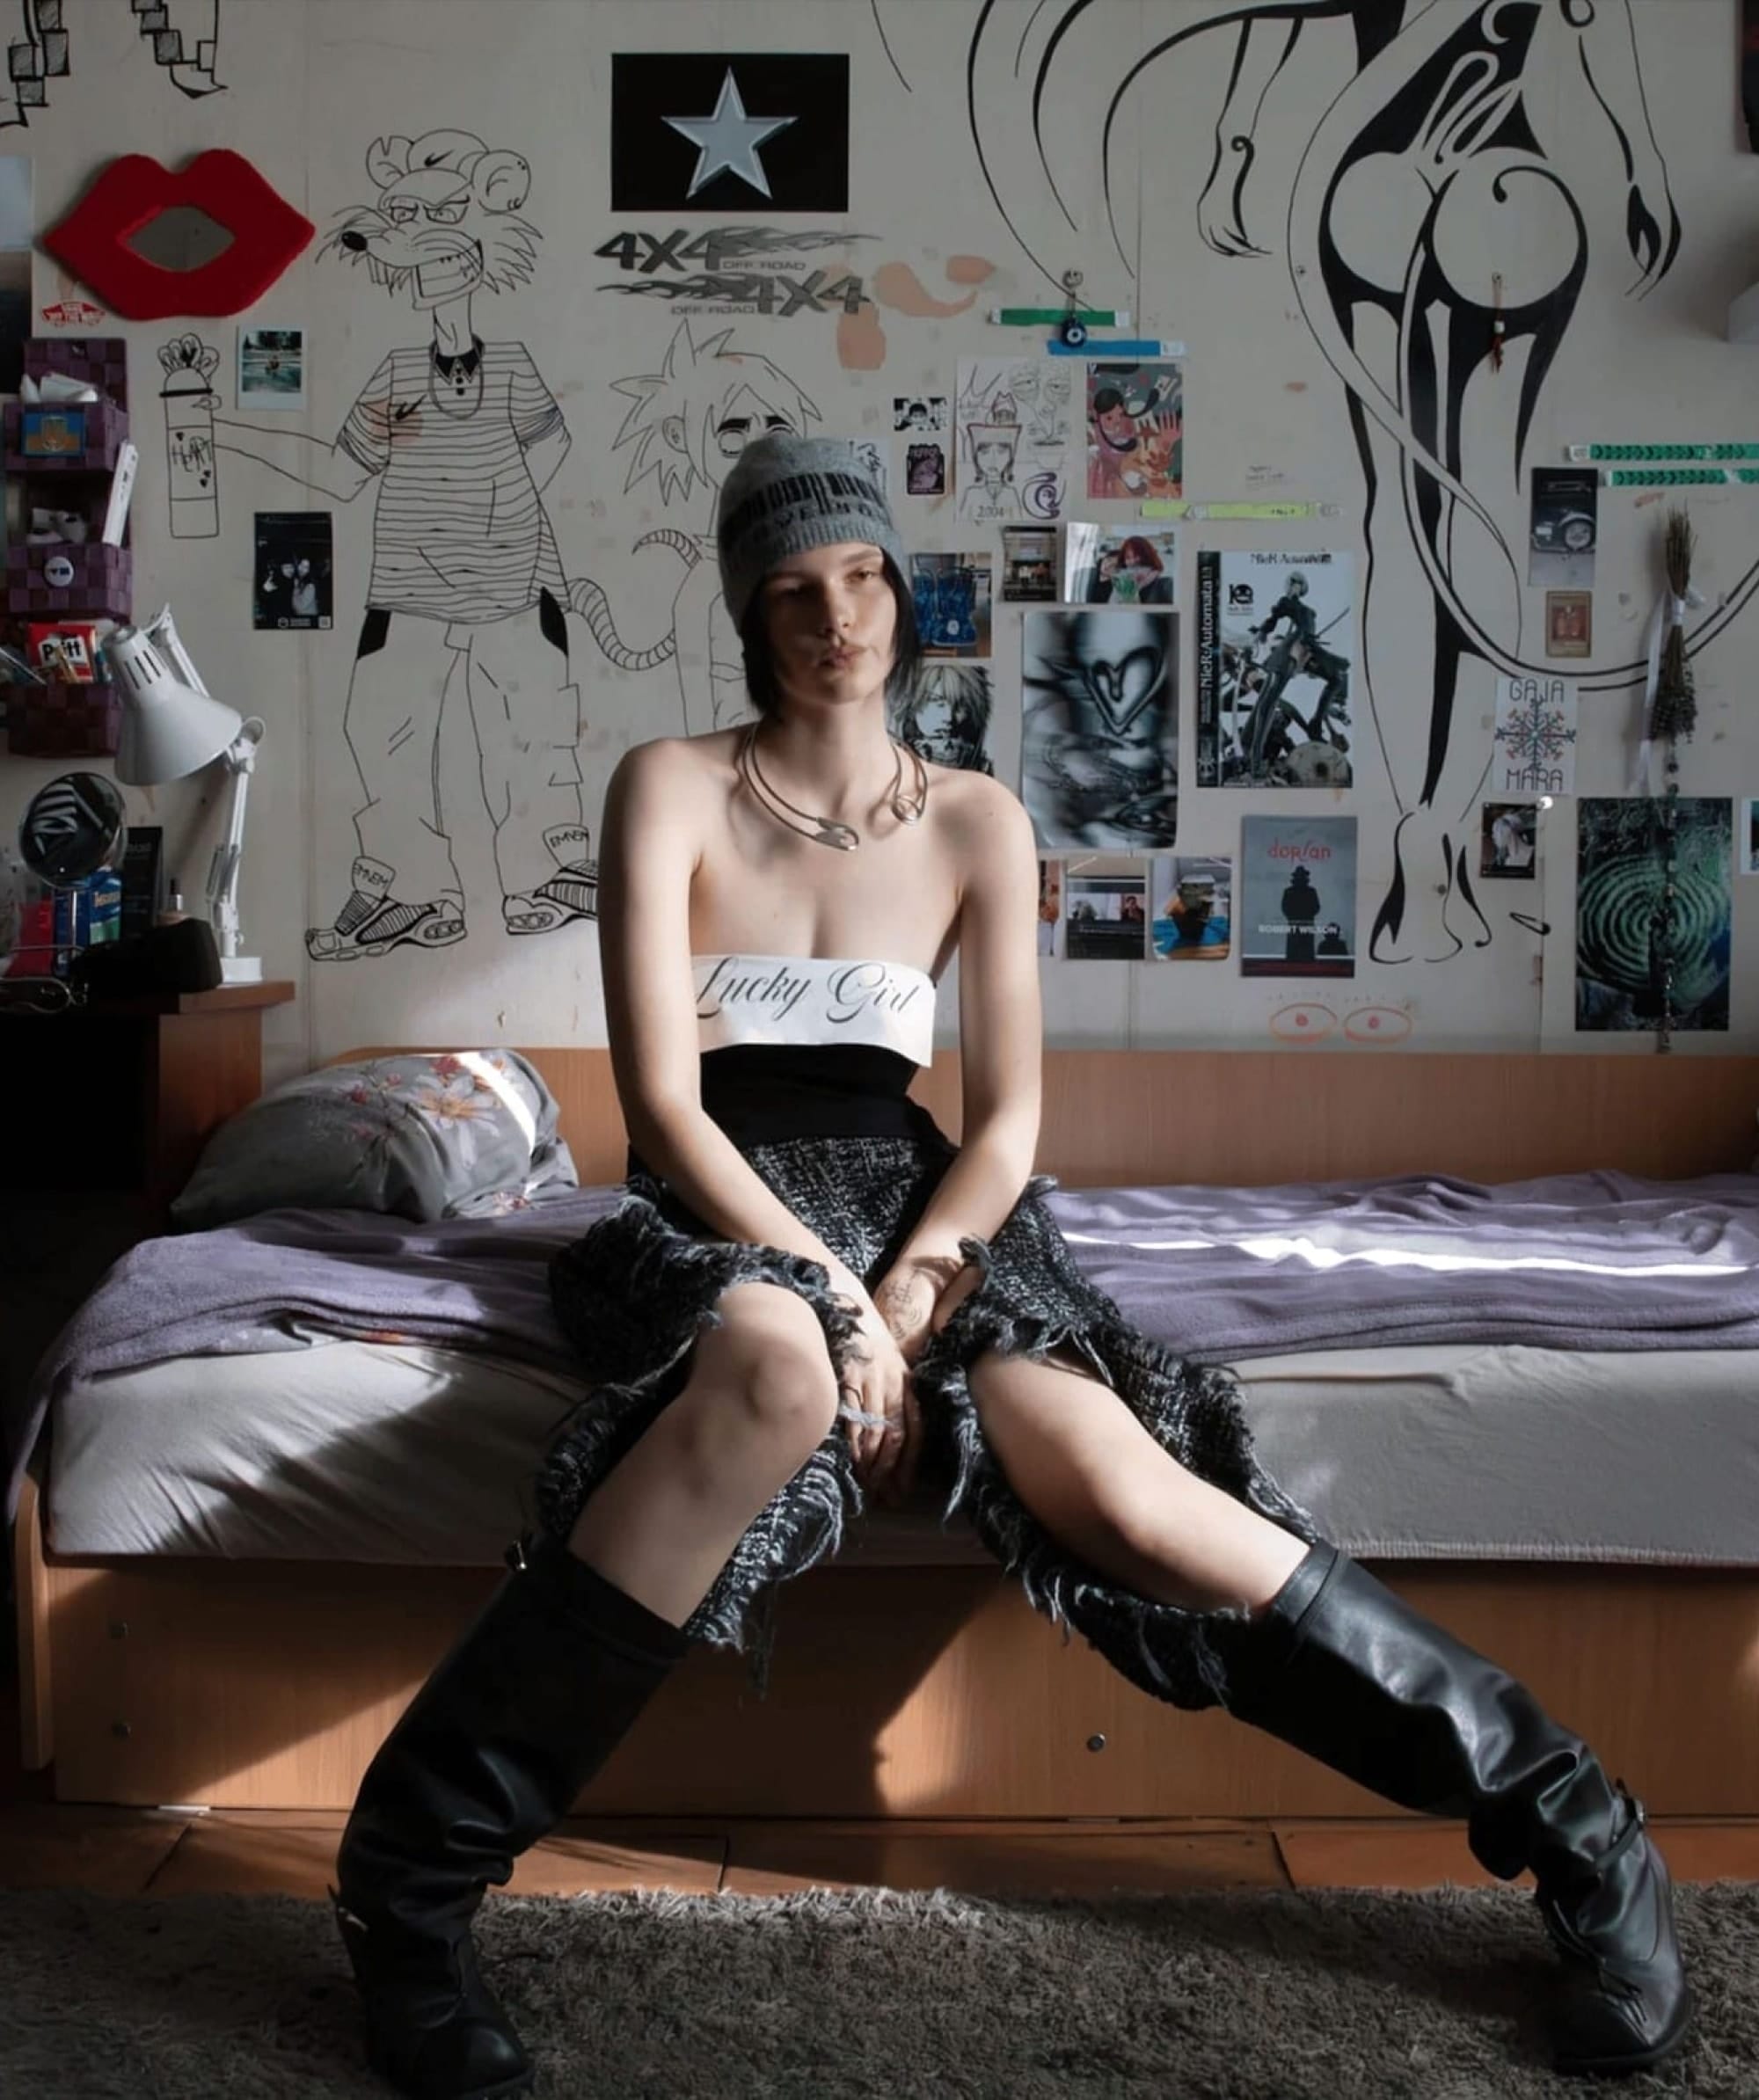
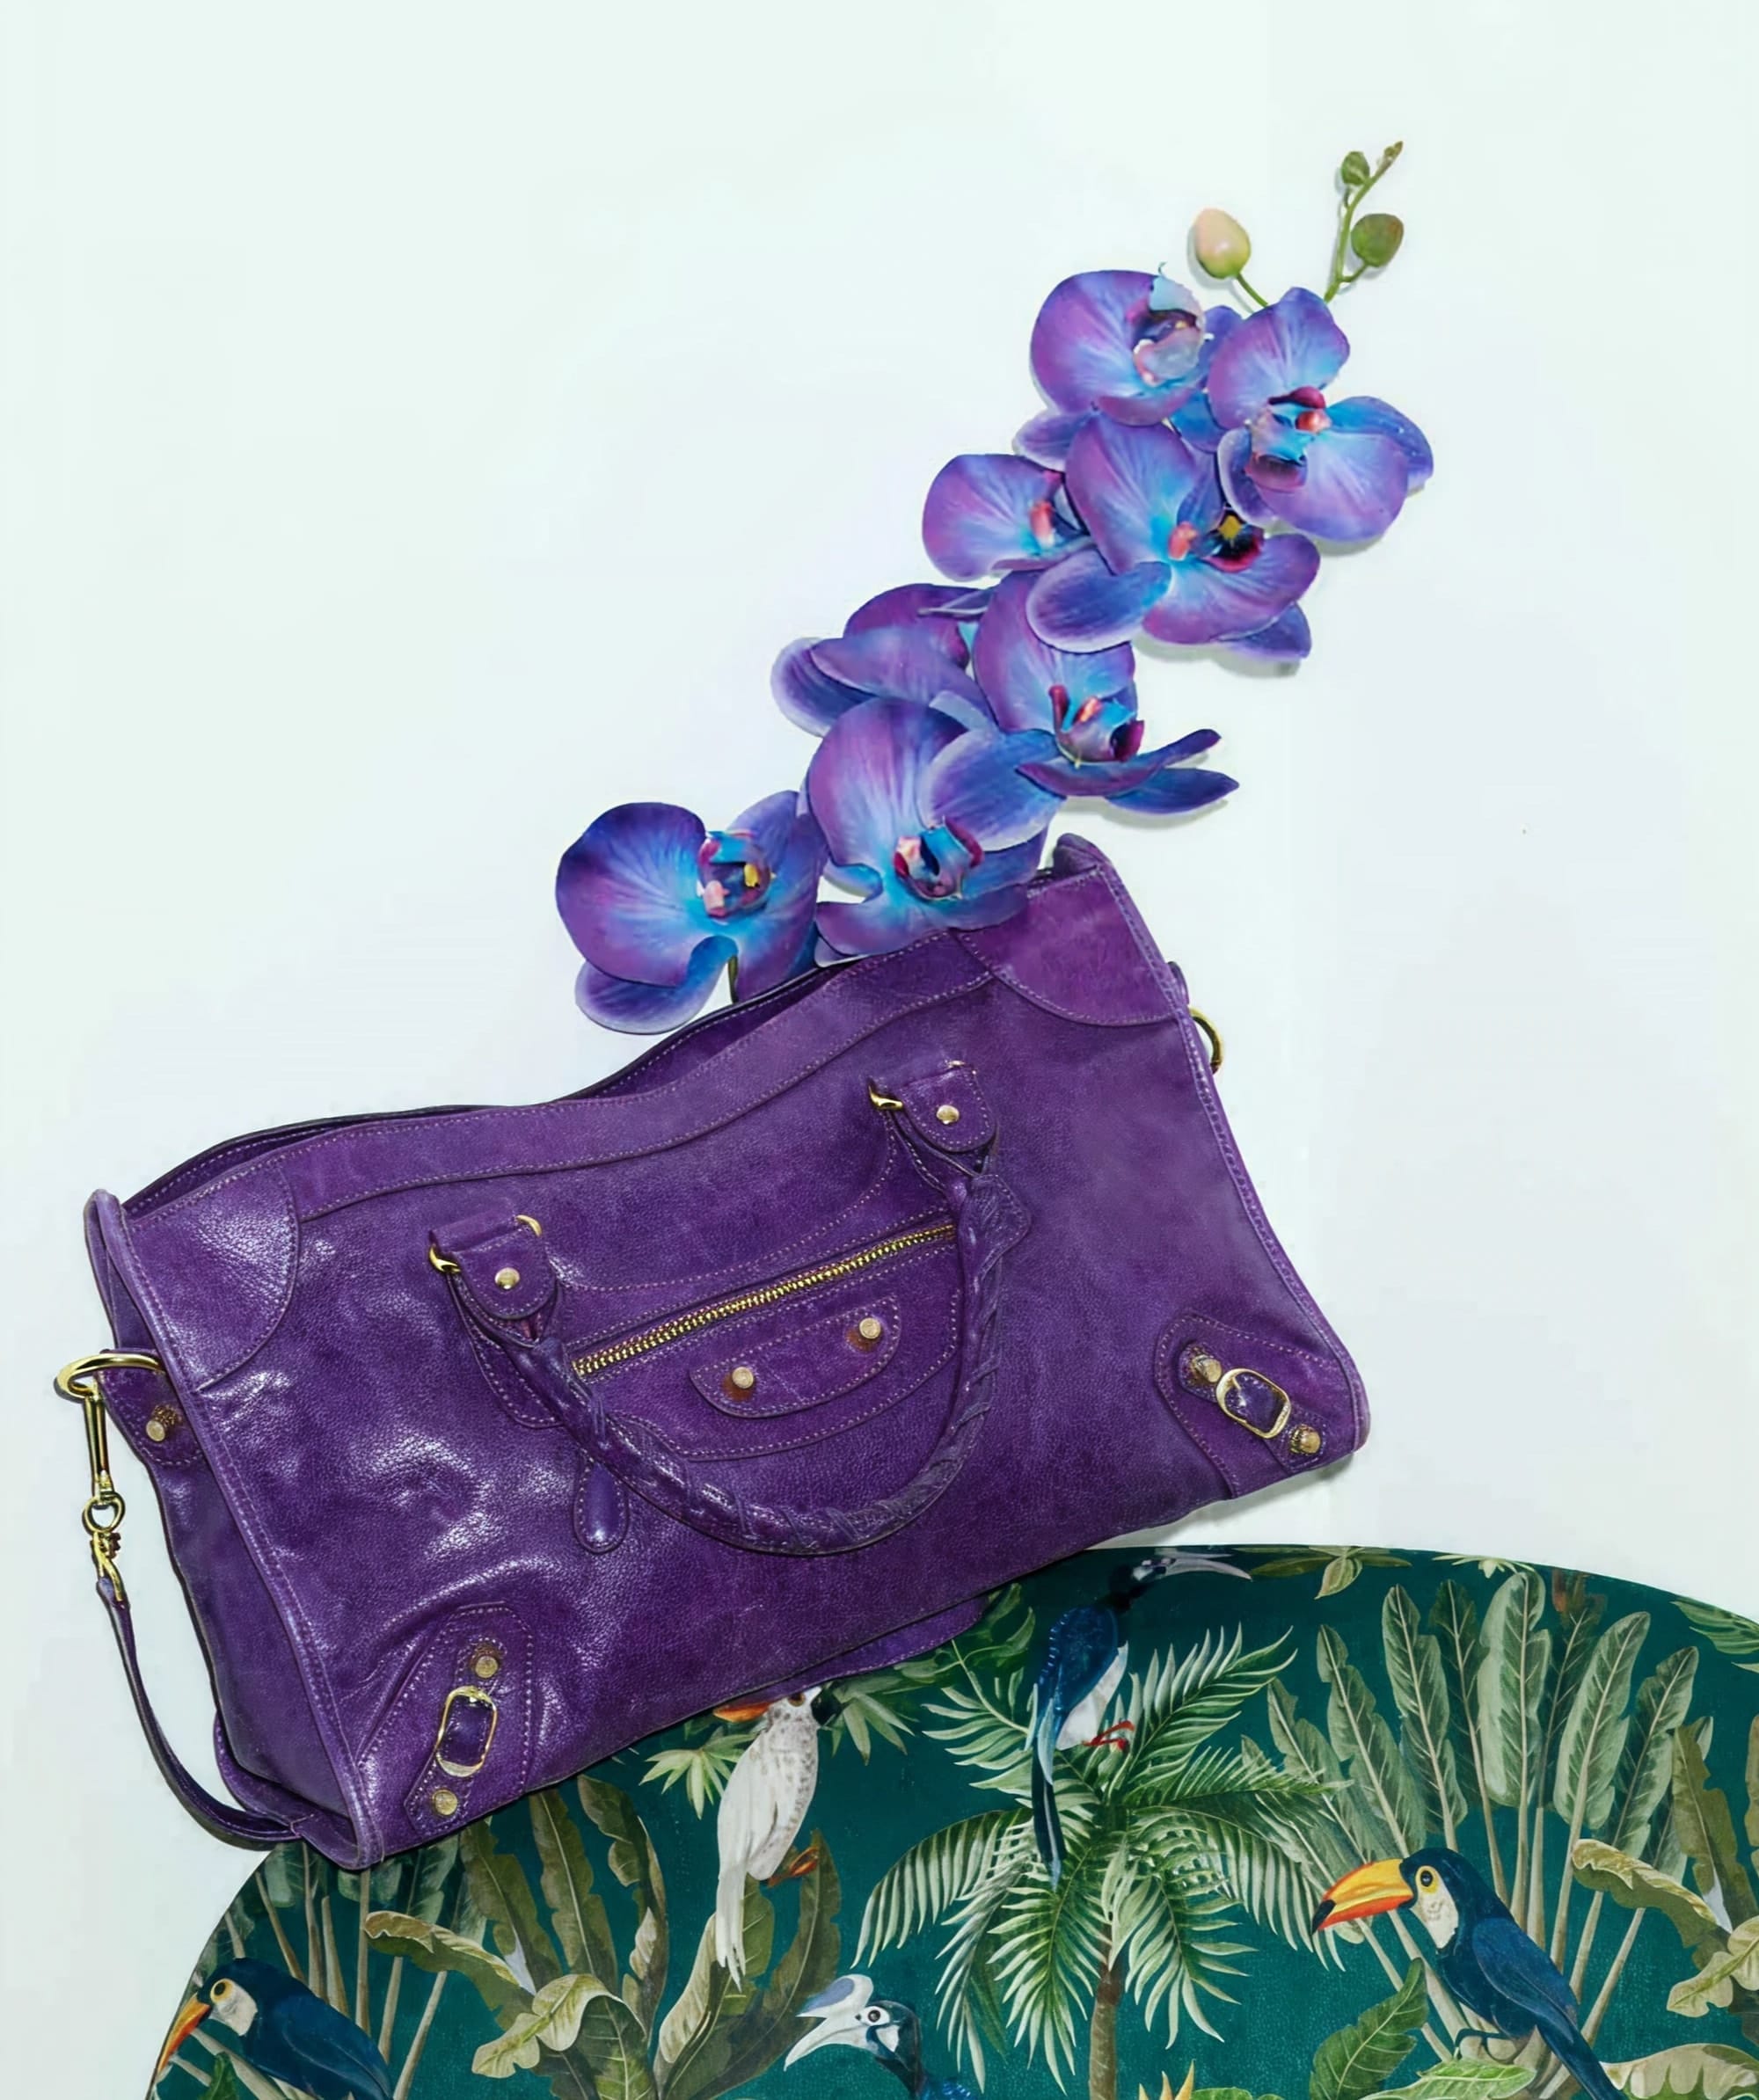
Lifestyle photography shows the product in a real setting, a jumper on a person walking outdoors, a vase on a shelf, ceramics on a kitchen table. Lifestyle images help customers visualise products in real life contexts in a way a plain packshot cannot, and models in lifestyle shots provide useful context for size, fit and style. Lifestyle photography is also effective for social media marketing on platforms like Instagram, where a styled shot tends to perform better than an isolated product photo. Done well, lifestyle shots can enhance brand identity and customer connection at the same time as supporting the sale.
Detail and macro shots
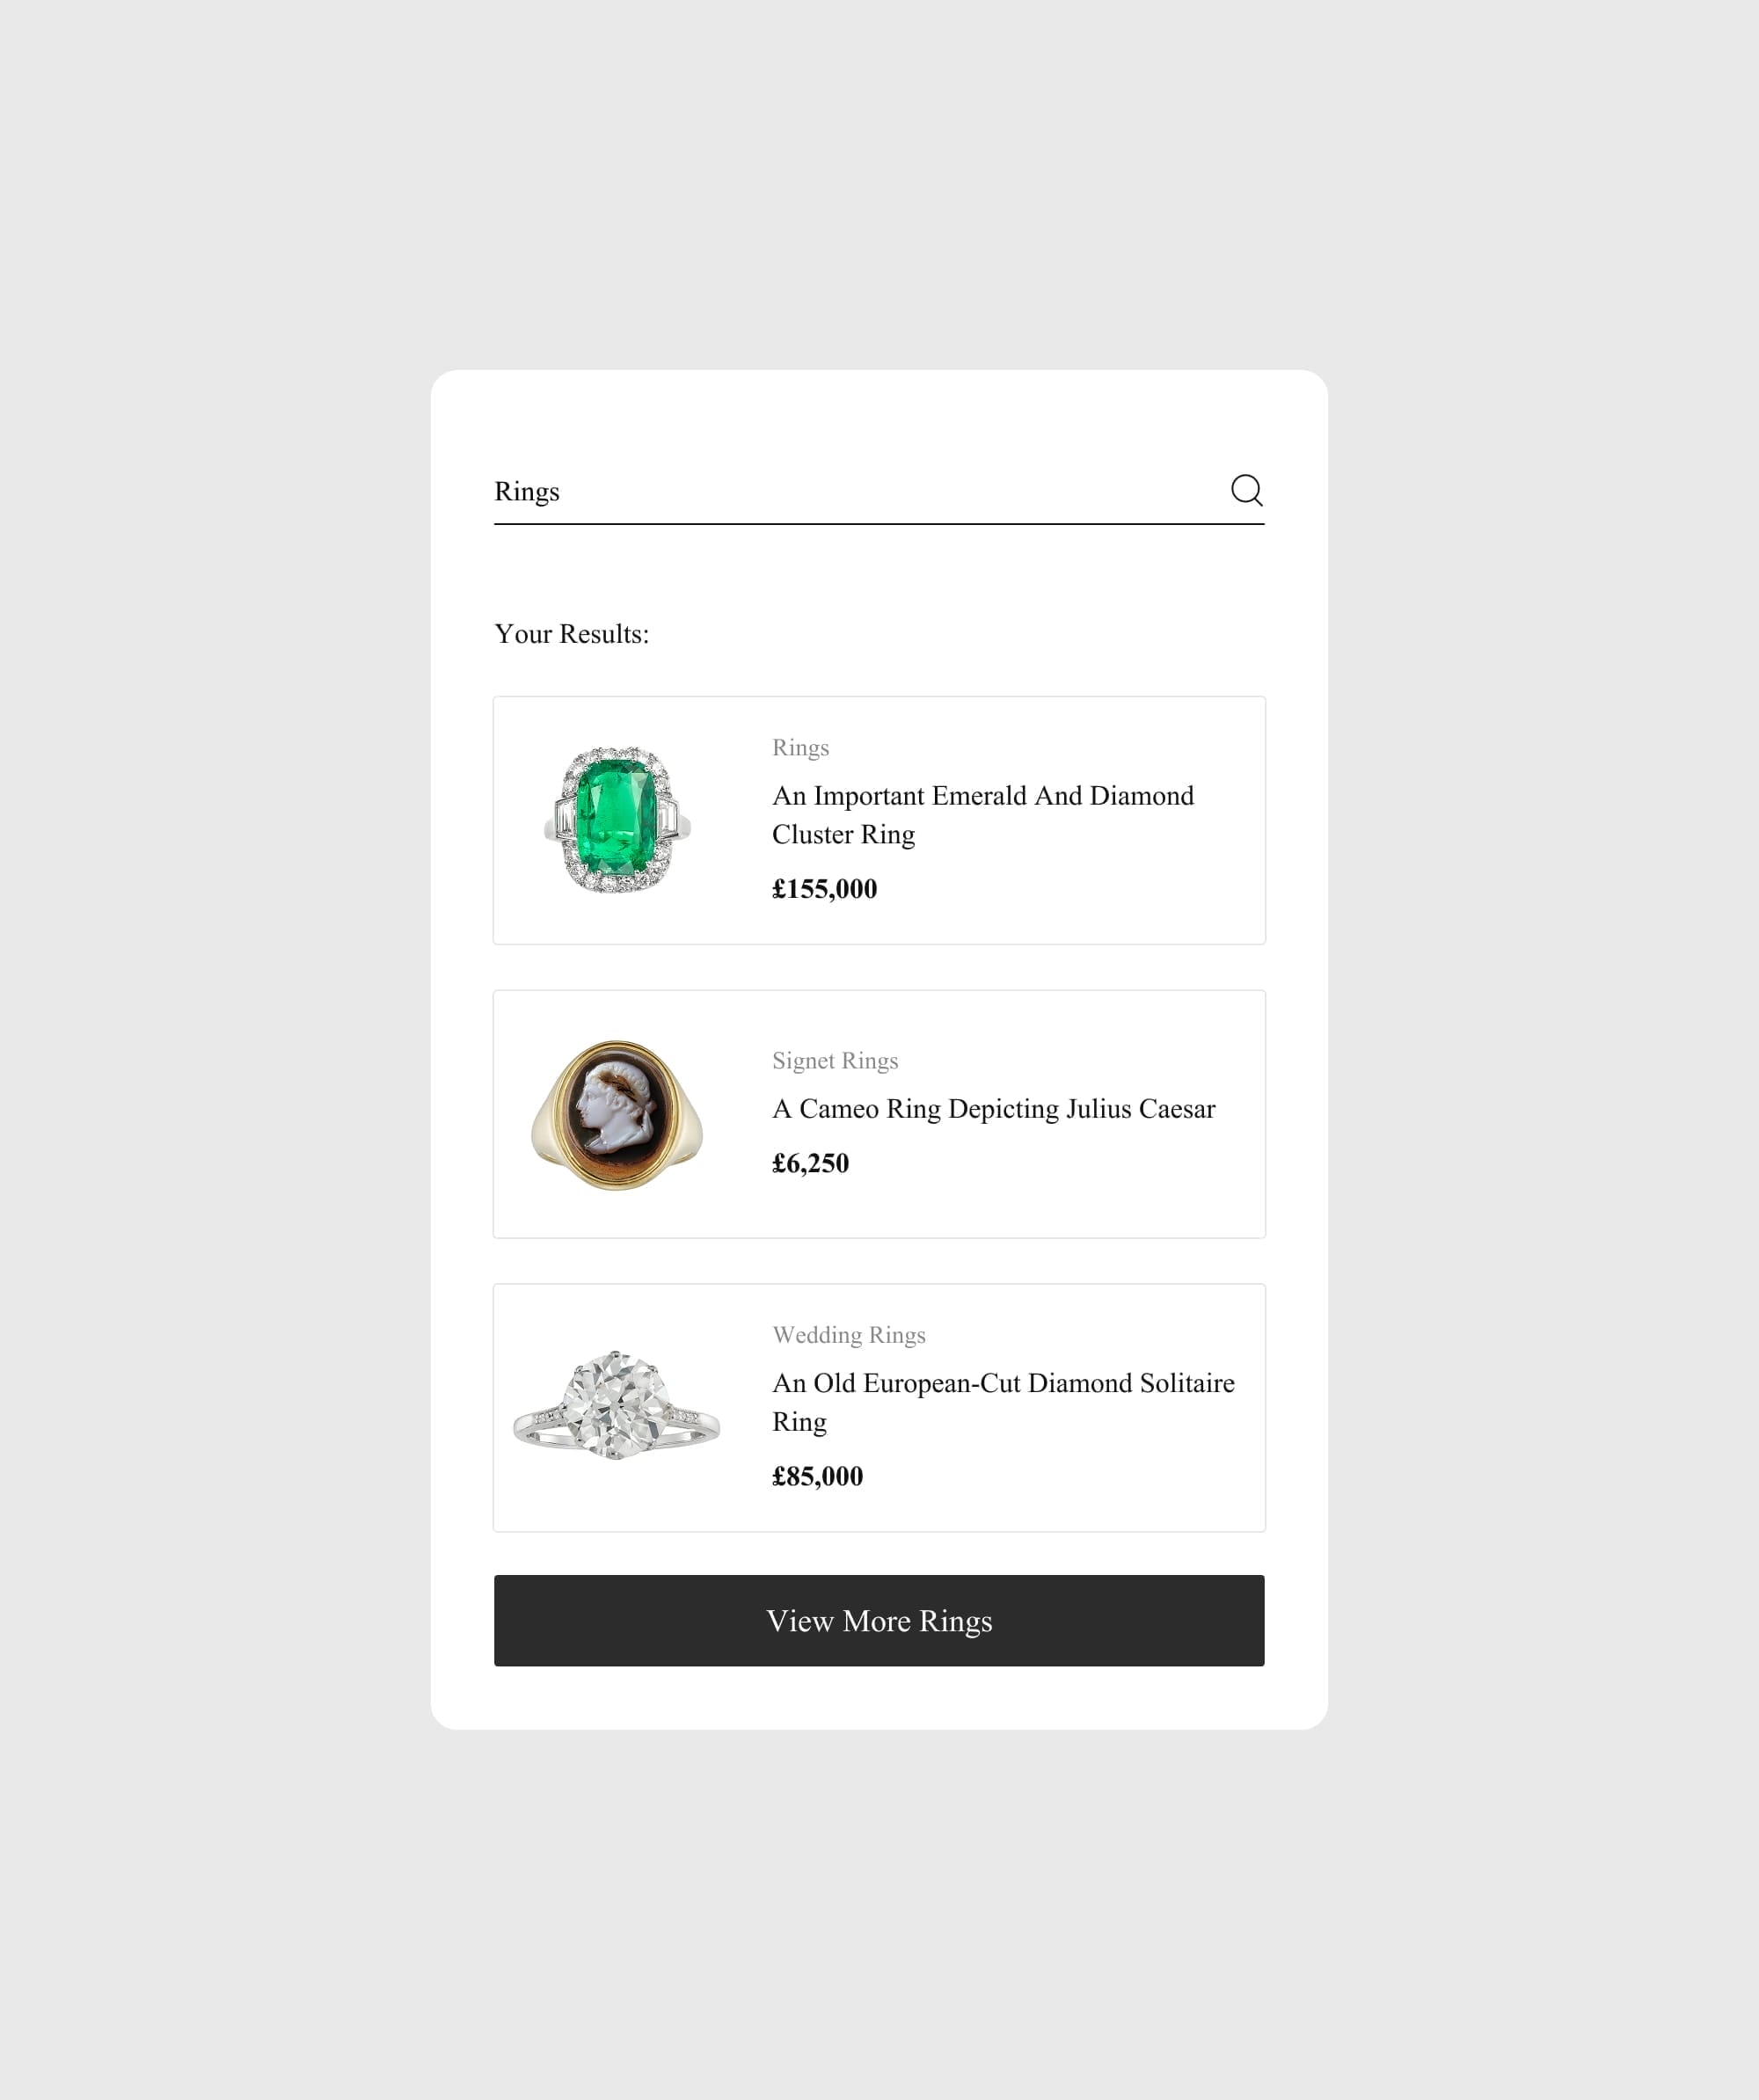
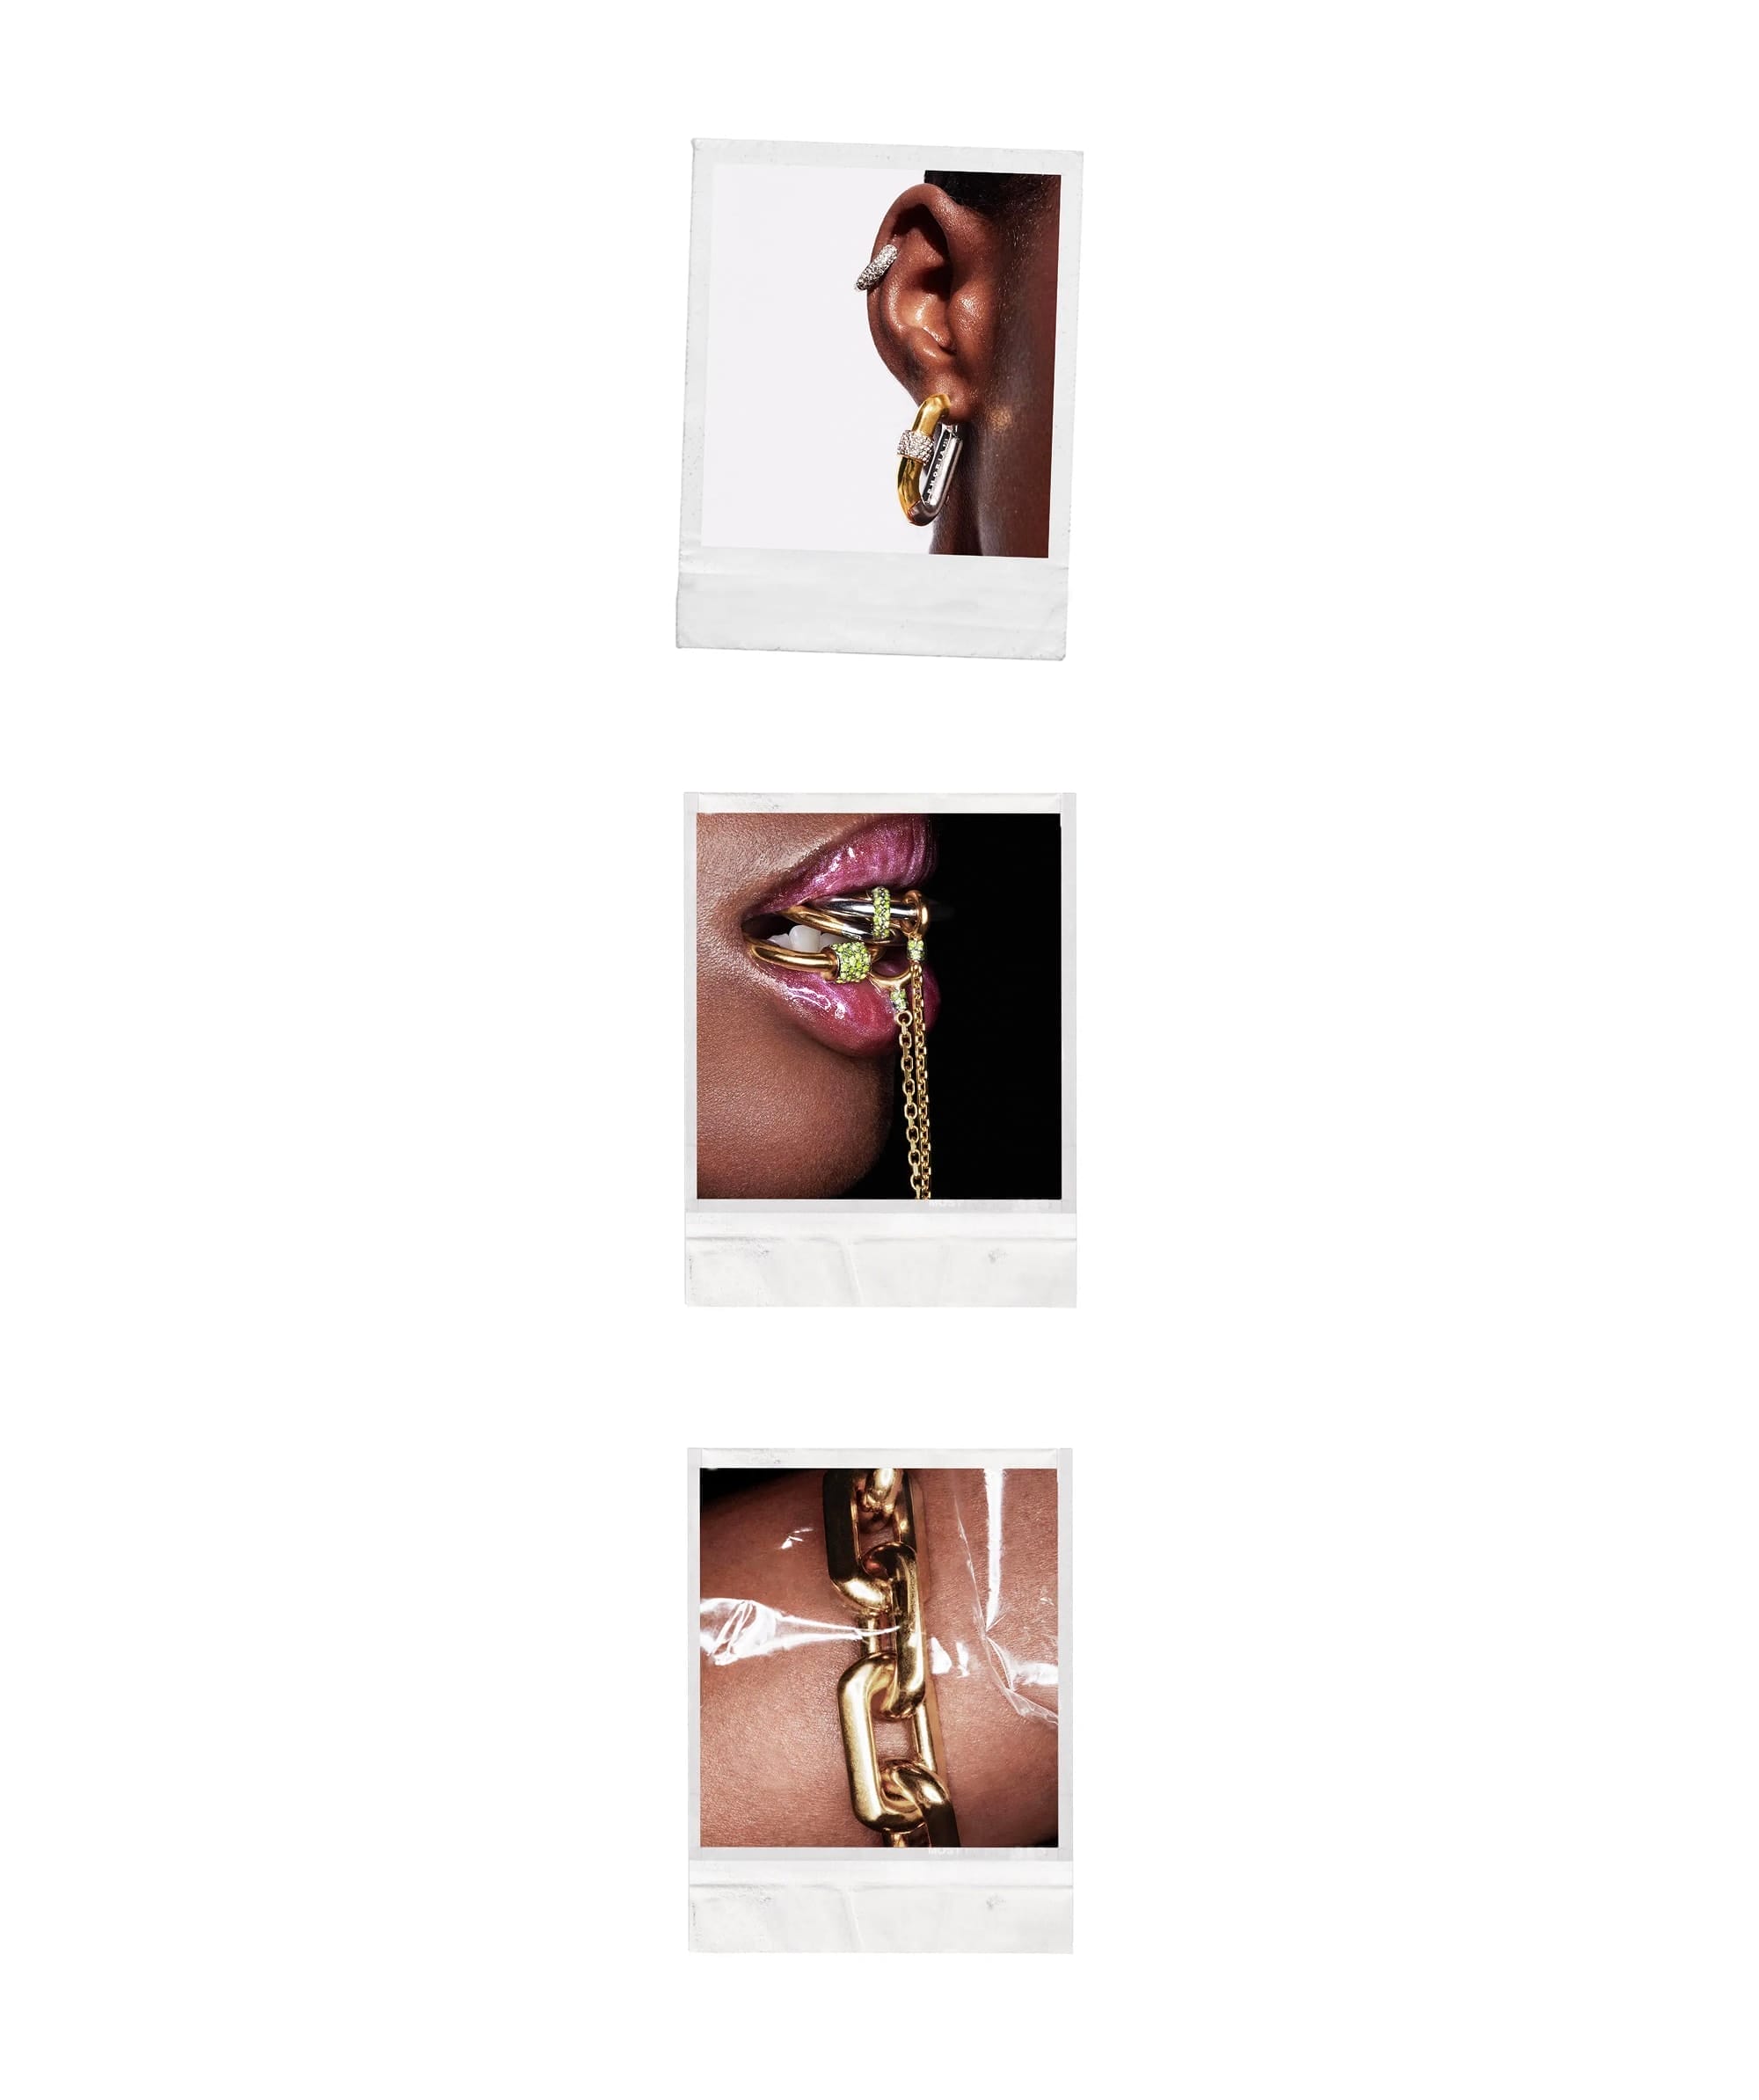
Close ups of stitching, hardware, fabric weave or finish. For higher priced pieces, detailed images are often what justifies the price and reassures a buyer that the quality matches the cost. Macro photography in particular captures intricate details of small products, which matters a great deal in categories like jewellery photography, where clasps, stone settings and metal finish carry much of the buying decision.
Scale reference images
Given that 42% of shoppers actively try to judge size from photos, at least one image per product that makes scale obvious is worth prioritising over almost anything else on this list if you have to choose. A simple photo showing the item next to a common object, or worn by a person, solves this without any extra equipment.
Model or on body shots
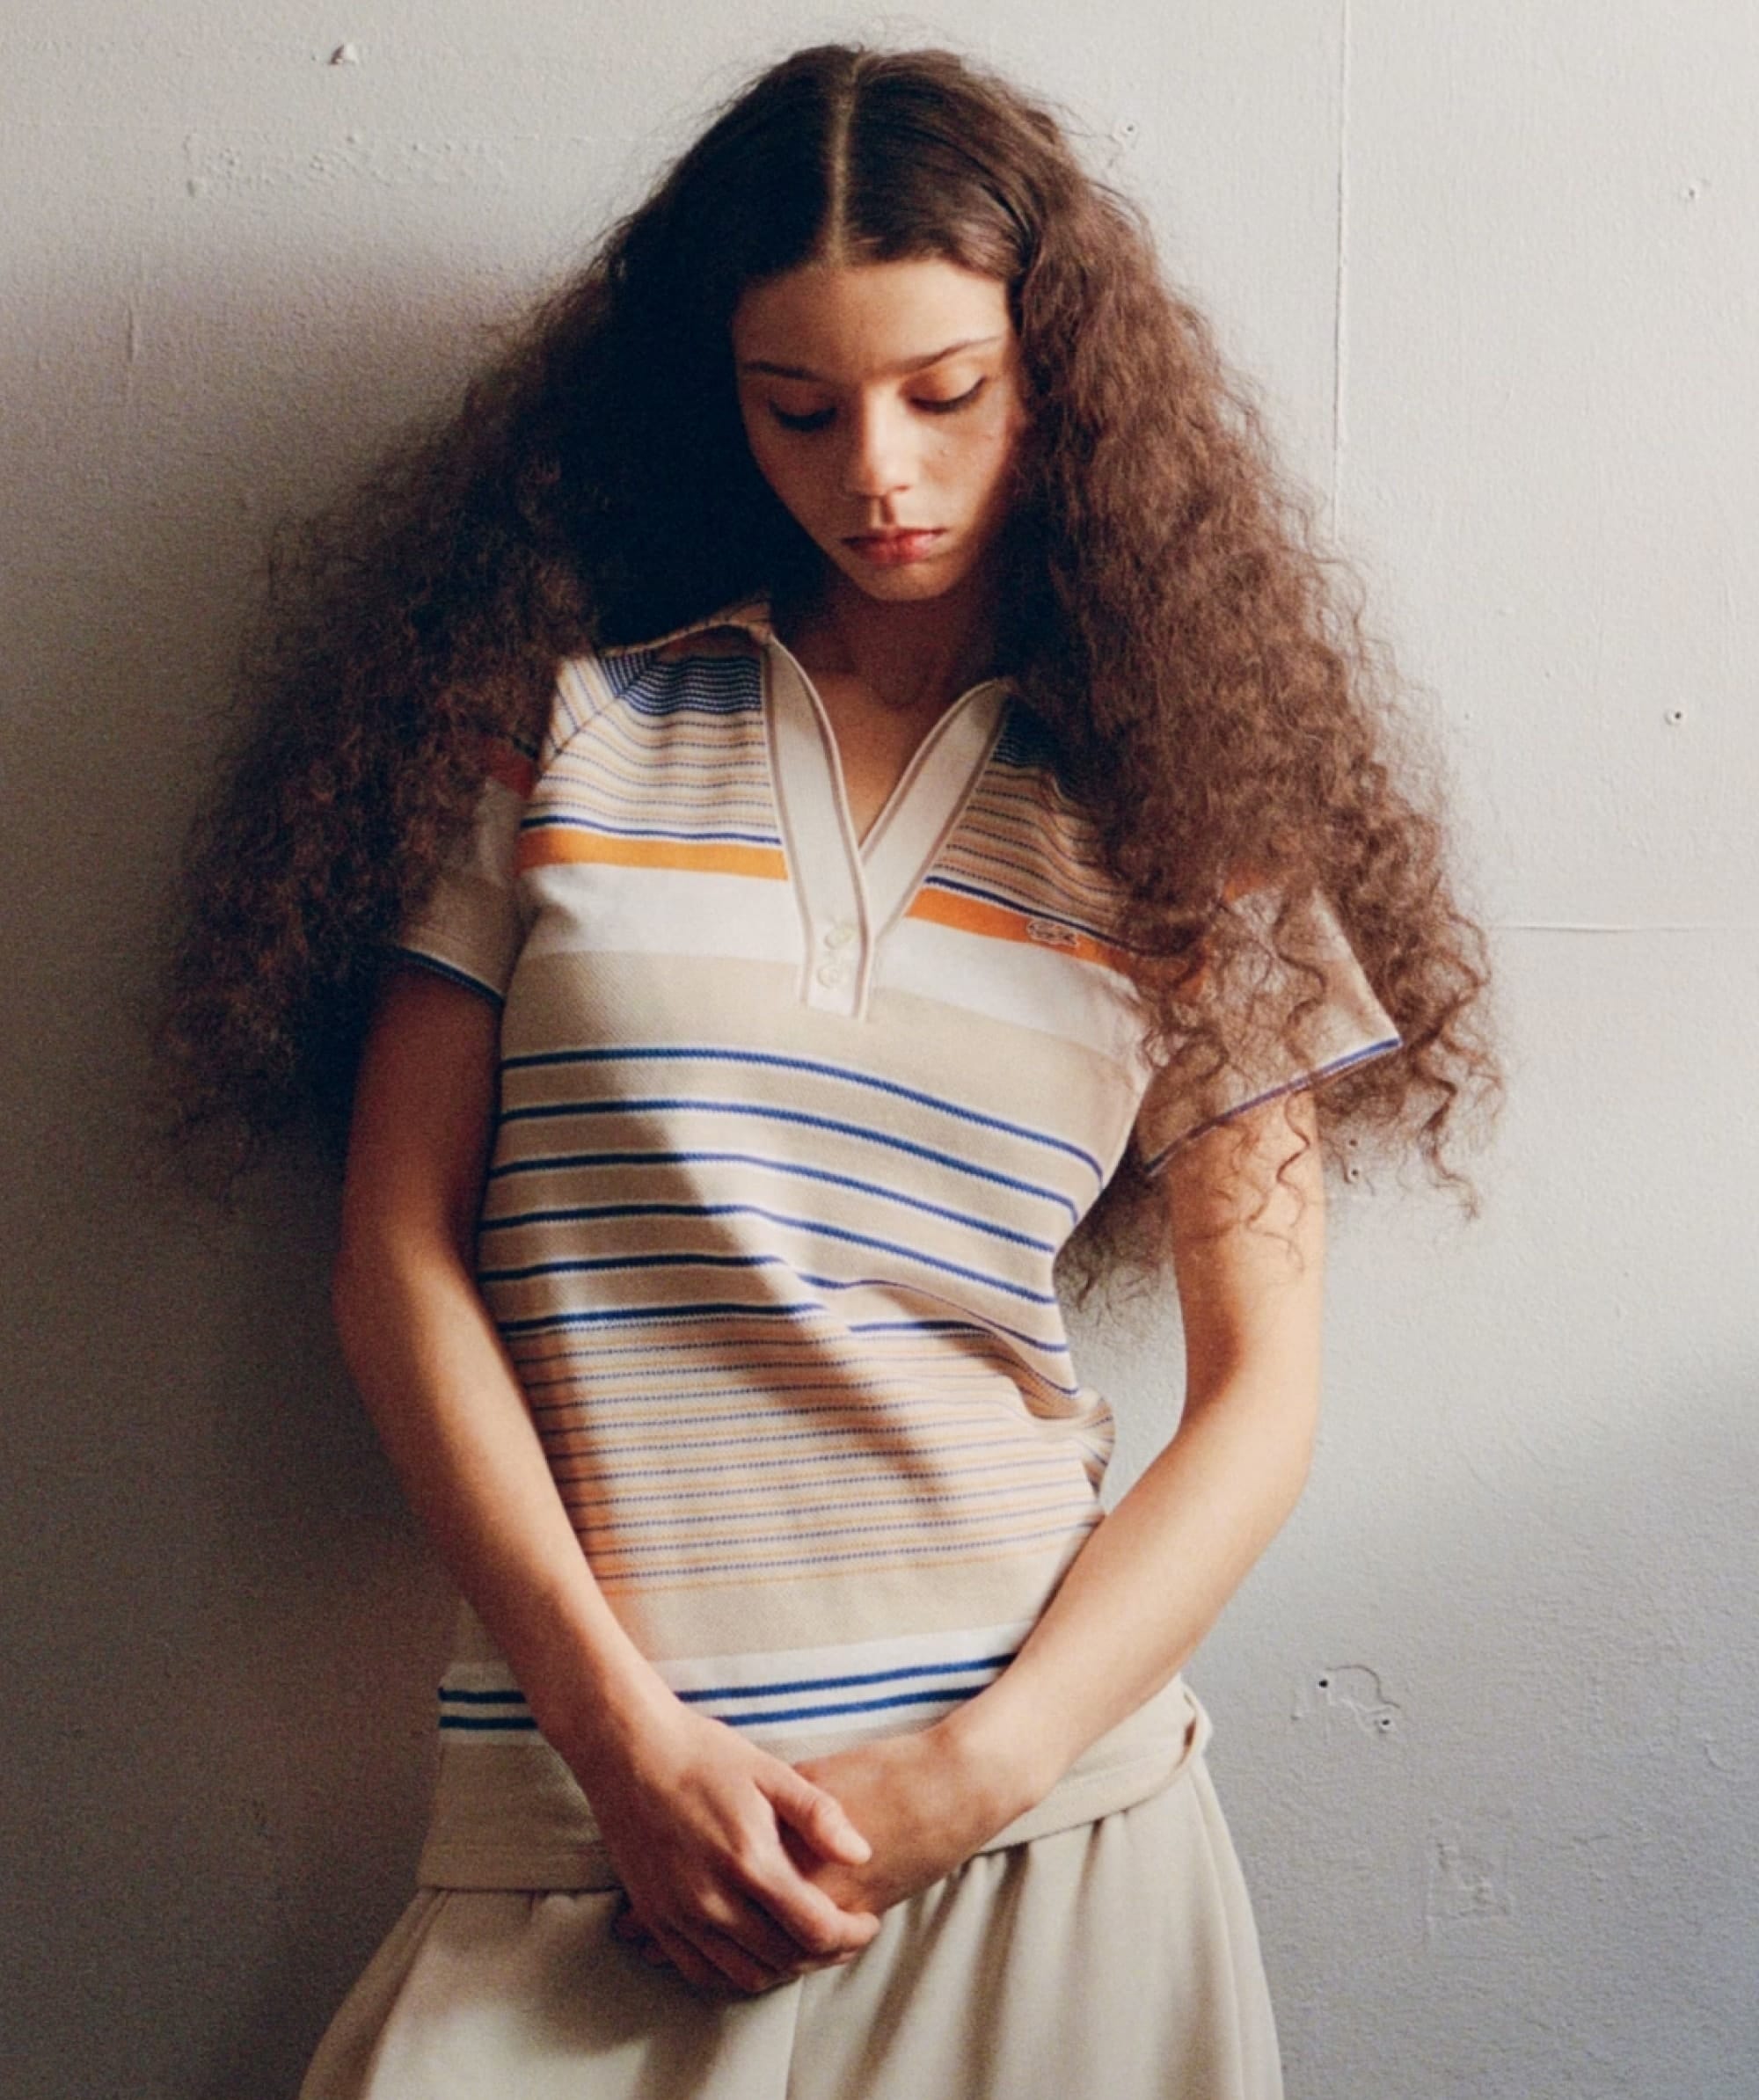
For fashion and accessories, model photography helps a shopper judge fit and proportion in a way a flat lay cannot replicate. Diverse casting across body types is increasingly expected by UK shoppers and reflects well on brand reputation.
360 degree and multiple angle views
Customers rely on multiple angles to compensate for not being able to physically hold an item before buying. A full 360 degree view goes further, stitching a sequence of images into a rotatable view, which gives a comprehensive view of the product for categories like footwear, bags and furniture where shape matters a great deal to the buying decision.

Product photography is only one piece of a converting product page. Our Insight to 10 Key Elements for Crafting the Perfect Product Detail Page covers the other nine elements that decide whether a shopper actually buys.
Equipment that actually matters for a small catalogue
Smartphone or dedicated camera
A high quality camera helps, but it is not the first thing to invest in. A capable modern smartphone, a tripod and controlled lighting will get most independent brands further than expensive professional cameras used inconsistently. A tripod matters more than the camera body, since it is what keeps every shot consistent across a full catalogue, which matters more to a shopper’s trust than any single hero image being technically perfect, especially once your catalogue grows to the scale of innovative multi-brand fashion retailers like LN-CC.
If you do move to a dedicated camera, a standard 50mm lens covers most general product shots with a natural perspective, and a macro lens in the 85 to 100mm range is worth adding once detail shots and jewellery photography become a regular part of your workflow. Avoid very wide angle lenses for product work, since they distort shape and can mislead a shopper about scale.
Building a simple, repeatable setup
Once you are shooting regularly, a semi permanent shoot area saves real time. Fix your backdrop location, mark tripod positions on the floor, and keep a short written note of your lighting setup for each product type. Batch shooting, all hero shots first, then all angles, then all detail shots, reduces how often you need to rebuild lighting between products, and helps your eCommerce photos stay visually consistent across the whole catalogue, which becomes critical when you are also working on checkout and conversion optimisation for campaigns like Black Friday.
Lighting for eCommerce photography
Natural light from a window is free and often looks good, but it changes in intensity, angle and colour temperature throughout the day, which makes it hard to keep a catalogue consistent. Natural light can be combined with artificial lighting for better, more repeatable results, and for most growing catalogues, controlled artificial light on its own is the more practical long term choice.
Soft light versus hard light
Soft lighting produces gentle, diffused shadows and even illumination, and is the right choice for most standard product photos. Hard lighting creates strong shadows and higher contrast, which can work for a specific creative or dramatic effect but is rarely right for a standard catalogue shot where accurate detail matters more than mood. Reflectors are a simple, low cost way to enhance lighting and soften shadows by bouncing fill light back into darker areas of the frame.
A simple two light setup
Two continuous LED lights positioned at roughly 45 degrees to the product, set to a consistent colour temperature around 5,000 to 5,600 Kelvin, covers most tabletop product photography needs. For full body fashion or model photography, adding a separate fill light and an optional rim light gives more control over how the subject separates from the background. As a general guide, lighting systems should provide enough output, often discussed in terms of at least 1,000 lumens per 100 square feet of shooting space, to keep exposure consistent without pushing your camera’s sensitivity too high.
Managing reflections and difficult surfaces
Reflective products, cosmetics packaging, sunglasses, chrome fittings, glazed ceramics, need particular care. Large, diffused light sources spread reflections evenly rather than creating a single distracting hotspot. Shooting from slightly above eye line often angles reflections away from the camera, and simple black flags or foam board can block or shape unwanted reflections without needing specialist equipment.
Keeping colour and background consistent
Colour accuracy
Colour accuracy matters most in fashion, paint, beauty and home textiles, precisely because mismatched colour is one of the more common reasons a customer returns an item they otherwise liked. A basic grey card used during the shoot, and a properly calibrated screen for editing, solves most of this at very little cost. Consistent lighting, backgrounds and camera angles across a shoot create a cohesive brand image and make your category pages look considerably more professional.
Background and framing consistency
Keep your background choice, image padding and orientation the same across every product in a category. All product listing images should follow the same padding, orientation and background for consistency, since a shopper scrolling a category page notices inconsistency even if they could not tell you exactly what looked off.
Editing without overdoing it
Desktop tools such as Lightroom or Capture One handle batch editing well for larger catalogues, while a lighter mobile photo editing app, such as Lightroom Mobile or Snapseed, is enough for a smaller one. The job of editing here is correction, not transformation. Fix white balance, straighten the frame, remove minor blemishes, and export at a consistent size. Editing tools can also help remove background distractions and achieve a more uniform look across a batch of images.
Heavy filters or oversaturated colour work against you, since post processing that goes too far tends to increase customer disappointment on delivery rather than reduce it. The gap between what a customer sees online and what arrives at their door is exactly what drives the returns this whole exercise is meant to reduce, so every edit you make should always stay honest to the real product.
For a batch of fifty to a hundred images, building a simple preset that standardises contrast, white balance and cropping, then applying it consistently while you edit photos, is far more efficient than adjusting each image individually.
File names, alt text and page speed
High quality images improve SEO and increase product discoverability across search engines, but only if the technical basics are handled properly. Use descriptive file names, “navy-linen-shirt-front.jpg” rather than a generic camera file name, to help search engines understand what an image shows. Add alt text with relevant, accurate keywords for both accessibility and search visibility.
Compress your images properly and use modern formats such as WebP where your platform supports them. File compression improves website loading speed without a meaningful loss in visual quality, and large, uncompressed unoptimised images slow page load, which costs you both search ranking and shoppers who give up waiting. For zoom functionality to work properly, images should generally be at least 1,000 pixels on the longest side.
How much should I pay a photographer for a product shoot?
Pricing varies considerably by region, product complexity and how many SKUs you need shot in a single session, so treat the following as a general starting guide rather than a fixed quote, and always confirm current rates directly with a photographer or studio before budgeting a shoot.
- DIY, generally under £1,000. A capable smartphone or entry level camera, a tripod, basic lighting and a plain backdrop, suitable for a small catalogue shooting in house.
- A professional shoot, roughly £800 to £2,500. A photographer and studio session for a batch of SKUs, usually enough for a seasonal refresh of your priority products.
- A full campaign, £5,000 and up. Styled sets, models and a larger volume of assets, usually reserved for a brand launch or a significant seasonal moment.
Cost components generally include the photographer’s day rate, any assistants or models, studio or location hire, props, retouching time, and the usage rights you need. Spend where it earns its keep. Your highest margin, highest visibility products deserve the best photography budget you have, while a long tail accessory line rarely needs the same treatment.
Applying 80/20 thinking to your photography budget
There is no single, agreed 80/20 rule in photography. The phrase gets used loosely across general photography advice, and none of the definitions we have seen are specific to eCommerce.
What is genuinely useful, and grounded in ordinary prioritisation thinking rather than a formal named rule, is applying Pareto style thinking to your shoot planning. In most catalogues, a small proportion of SKUs generate the majority of revenue. Spending a larger share of your photography budget and time on that smaller group of high performing products, rather than spreading effort evenly across your entire catalogue, tends to produce a better return than treating every product identically.
Briefing a photographer, in house team or partner
Whether you are booking a freelance photographer or working with a specialist studio, a clear brief saves time and money on both sides and helps you get more value from an experienced eCommerce and branding studio partner with a track record of award winning digital projects. A good brief covers:
- Brand context, brand identity and who the shopper actually is
- Where the images will be used, site, marketplace, social media, email
- A shot list with types and quantities per product
- Technical specs, file format, colour space, image dimensions
- Timeline and budget
- Reference images showing the style you want, and what to avoid
What this actually looks like: Gentlewench
Dazze designed and built the Gentlewench eCommerce store. Photography was one part of a wider project covering design, build and site strategy, so we would not claim the site’s performance numbers as a photography result on their own. What Gentlewench does show is what a coordinated approach looks like in practice: consistent styling, a photographer briefed against the brand’s actual audience, and a site built to display the results properly rather than working against them, in line with how we approach boosting eCommerce sales through design and optimisation.

For shoots needing a dedicated photography specialist, we work closely with Andy Malone, a UK based photographer who shot Gentlewench alongside our design and build work. Get in touch.
In house or outsourced
Keep photography in house when your catalogue is small, your products are straightforward to shoot, and you need to turn small drops around quickly. Outsource when you need styled sets, model casting, or you are launching or relaunching a brand and the first impression matters more than usual. Many independent brands land on a mix: simple packshots handled in house day to day, with a partner brought in for seasonal lifestyle work.

If you are based in the north of England and weighing up outsourced photography, 2812 is our trusted content partner for styled and lifestyle shoots. Get in touch.
Creating a repeatable visual content system
Building the habit, not just the shoot
A successful eCommerce business needs a repeatable content system rather than one off shoots, the same way a well run agency refines processes across high performing eCommerce projects and case studies. A few habits make the biggest difference over time:
- Set shoot cycles around product launches, seasonal campaigns and email or social pushes
- Standardise your shot list by product type, so every jumper or every ring gets the same treatment
- Keep a central, well organised asset library with clear file names and usage rights recorded, so eCommerce photos are easy to find and reuse
- Review your top selling products at least once a year to check the images still represent the product accurately
A four week starting point
Week one. Audit your current product images. List where you are missing angles, detail shots or a consistent background, and identify your top selling products by revenue.
Week two. Write a simple style guide and shot list based on what you found.
Week three. Run a small test shoot on three to five priority products, either yourself or with a photographer briefed against your new shot list.
Week four. Roll the new images out on your priority products and watch your existing analytics for any change in product page conversion or return rate over the following weeks, using the same lens you would apply to optimising every element of a product detail page.
Common mistakes worth avoiding
- Mixed lighting colour temperatures. Produces inconsistent, less trustworthy looking product pages. Stick to one colour temperature per shoot.
- Inconsistent backgrounds across a category. Makes your category grid look messy and undermines brand image. Fix with a template based crop and a consistent backdrop.
- Blown out whites that lose the product edge. Makes products look like they are floating or disappearing into the background. Expose for the product, not the background.
- Misleading colour. Drives higher return rates and damages brand reputation over time. Use a grey card and a calibrated screen.
- Over editing. Heavy filters lead to customer disappointment on delivery. Keep every edit true to life.
Frequently asked questions
How many images does a product listing actually need?
Four to eight is a reasonable working range for most independent brands, one hero shot, two or three angles, a detail shot, and at least one image that shows the product in context or at scale.
Can I get away with a smartphone alone?
For many independent brands, yes, provided you pair it with a tripod and controlled lighting. The limiting factor is rarely the camera. It is consistency across the catalogue.
How often should images be refreshed?
Review your core images at least once a year, or whenever packaging, materials or your brand direction changes. Seasonal fashion lines typically need more frequent updates than a stable homeware range.
What usage rights should I agree with a photographer?
Confirm in writing what you can use the images for, your website, marketplaces, social media, paid ads, print, and for how long. A limited licence and a full buyout are priced very differently, so it is worth discussing this before the shoot, not after.

Product photography and your website need to work as one system, not separately. If they currently don't, Get in touch with Dazze Studio for a second opinion on where to start.